Notes
How To Mine Dogecoin
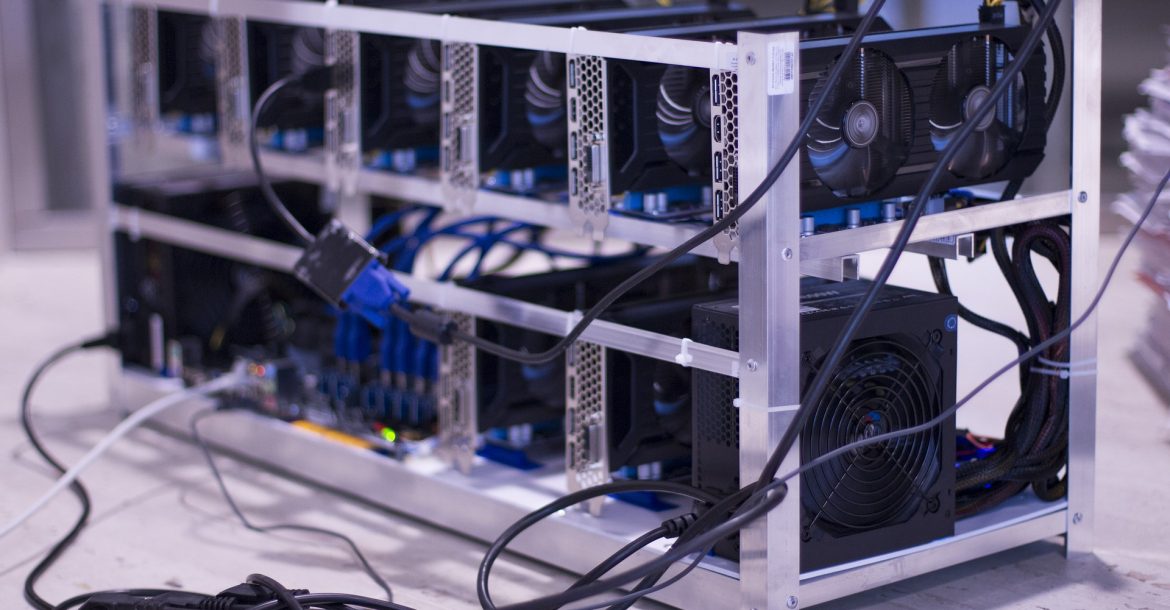
Ok, so you want to mine Dogecoin? Or maybe you need to know how to mine cryptocurrency. This will be a setup and starters guide for anyone who has a computer. You need to know “how to mine.” Mining cryptocurrencies is actually a pretty simple process anyone can do. Make money with computer with cryptocurrency mining. Doge coins are just one of the many cryptocurrencies you can make money at home off of.
If you follow these easy instructions, with pictures, you’ll be able to start hashing like a pro. A lot of small things can go wrong when setting up mining, from simple code errors and outdated programs. I will provide all the necessary download links with detailed instructions for even the most novice to the process.
(1) Finding Your Hardware
First, you are going to want to see what kind of hardware you have. Laptops as a general rule, will not be able to get cryptocurrency as fast as a desktop. Desktops with AMD cards will also get generally higher hash rates than a NVIDIA card. You want to figure out which type of graphics card you have (AMD or NVIDIA) because it not only affects your speed, but also the program and settings. But we’ll get into that shortly. So to find your hardware, you need to hit start (the windows icon) and click in the search area. Type in “device manager.”
After clicking device manager, a new screen should come up. In device manager there should be all of your computers hardware listed. The option you need to select is “Display Adapters.” Your graphics card, or gpu, should be displayed under. In this case, I have both a NVIDIA GeForce GTX 770 and an AMD Radeon HD 7800 Series. Most likely your will be something different, but still NVIDIA or AMD. Write or save your card model somewhere easily accessible. Now that we have your type of hardware, you will need to pick a reliable pool you want to mine with. Dogecoin has the most dedicated ones, but you’re more than welcome to choose any you’d like. The Profit Reports page has frequently updated information on the most stable and profitable cryptocurrencies.
(2) Find A Pool
Now that you have a currency you want to mine and your hardware information, you need to find a good pool to use. A pool is a collective of people all working together to solve blocks, and get cryptocurrency. Instead of mining, dogecoin for example, by yourself and taking months to solve a block lots of people ban together and split the rewards based on your hashrate and shares you put in. When a block is solved everyone gets a share of the coins that directly correlates with your input. Seems fair, right? It is, and if you are the one who solves a block you often get a substantial bonus. Here’s a list of some good Dogecoin pools. TeamDoge
– Reliable, consistent block solving, block bonuses, secure, no fee. Nonstopmine
– Reliable, high block payouts, secure, block bonuses, 2% fee. Dogehouse
– Reliable, consistent block solving, no fee. Once on the site, register a new account.
This process just asks for an email, username and password. After your account is created, login. Now you need to create a new worker by clicking on the my workers link on the left, once you have logged in. Once you’re on the workers page, you need to create one with a name and password easily remembered.
Your login name and password for the pool should be sufficient for security. For example, here I used “A” as the name and “1″ as the password. Once you’ve typed in your chosen username and password, click the “Add New Worker” button.
On the right, a new worker should appear and look very similar to this. Except instead of a black square, your chosen login name for the site will be there.
Now we have all the information we need to start collecting coins. We just need to pickup the right program. Remember how we found your display hardware?
Well if you have an AMD card you’ll want to pick up this version of cgminer-3.7.2.
If you have a NVIDIA card, you’ll want to pick up the newest version of cudaminer.
Now here’s about the only tricky part of the process, but I will give you exact code you can copy and paste to use. It is very short and this should be running on your first shot.
(3a) Setting Up Cgminer For AMD Cards *FOR CUDAMINER SKIP TO SECTION BELOW
After you extract cgminer to it’s destination, you should see a lot of files in the folder. It should look like the figure below. Now you need to right click in the white space in the folder and select “New” and then “Text Document.”
A New text document will be created in the folder. This text document will contain the bit of code you need to connect your cgminer to your online pool and start hashing. Copy and paste this exact code into your new text document:
setx GPU_MAX_ALLOC_PERCENT 100 setx GPU_USE_SYNC_OBJECTS 1 cgminer –scrypt -o stratum+tcp://nonstopmine.com:3353 -u username.worker -p password
From here we need to edit a few things. On whatever pool you’re using, there’s a “Getting Started” link on the left hand side. You’ll need to click that to get the right address if you’re using a different pool than nonstop.
After you click it, the data needed will be right in the middle. You’ll end up replacing original “stratum+tcp://nonstopmine.com:3353″ with your pools stratum. In the case displayed above, you would replace it with “stratum+tcp://stratum.teamdoge.com:3333″ to match the new pools credentials.
Now the “username.worker” gets replaced with your login name for you pool site and your worker you created. So instead of “username.worker” you should have something like “ilovehash44.A” where ilovehash44 being your login name and A being the worker name you added previously. The “password” gets replaced with whatever worker password you created earlier. All in all that section of code should look something like
“stratum+tcp://stratum.teamdoge.com:3333 -u ilovehash44.A -p 1″
Finally we save that file in the same directory you opened it up in as a batch file. Simply hit “File” and then “Save As.” In the bottom under file type click the dropdown box and change the type to “All Files.” Then set the file name as “cgminer.bat” and hit save.
(3b) Setting Up Cudaminer For NVIDIA Cards
After you extract cudaminer to it’s destination, you should see a lot of files in the folder. It should look like the figure below. Now you need to right click in the white space in the folder and select “New” and then “Text Document.” A new text document will be created in the folder.
This text document will contain the bit of code you need to connect your cgminer to your online pool and start hashing. Copy and paste this exact code into your new text document:
setx GPU_MAX_ALLOC_PERCENT 100 setx GPU_USE_SYNC_OBJECTS 1 cudaminer.exe -o stratum+tcp://nonstopmine.com:3353 -O username.worker:password
From here we need to edit a few things. On whatever pool you’re using, there’s a “Getting Started” link on the left hand side. You’ll need to click that to get the right address if you’re using a different pool than nonstop.
After you click it, the data needed will be right in the middle. You’ll end up replacing original “stratum+tcp://nonstopmine.com:3353″ with your pools stratum. In the case displayed above, you would replace it with “stratum+tcp://stratum.teamdoge.com:3333″ to match the new pools credentials. Now the “username.worker” gets replaced with your login name for you pool site and your worker you created.
So instead of “username.worker” you should have something like “ilovehash44.A” where ilovehash44 being your login name and A being the worker name you added previously. The “password” gets replaced with whatever worker password you created earlier. All in all that section of code should look something like “stratum+tcp://stratum.teamdoge.com:3333 -O ilovehash44.A:1″
Finally we save that file in the same directory you opened it up in as a batch file. Simply hit “File” and then “Save As.” In the bottom under file type click the dropdown box and change the type to “All Files.” Then set the file name as “cgminer.bat” and hit save.
Start Mining!
Make sure the spacing and spelling in the code are correct if you have any trouble. Also feel free to leave a comment and I’ll help you as best as I can. And there you have it. All you should need to do it double click that “cgminer.bat” file you created and a new scren should come up and you’ll be hashing away. If there’s any errors the program should tell you. Your final product should look something like this.
If you run cudaminer.bat it should look a little different but still give you the same information.
Most hashrates are significantly higher than this. The next step is to optimize your cgminer settings to increase you hashrate drastically.
You’re going to need a wallet for you cryptocurrency, but they can be found easily on google. Transferring you funds to your wallet is a matter of changing to payout address in your pool settings online to a matching one in your wallet.


